Heater - December 2001
Ok, well enough is enough. I've flown through two Michigan winters
without a heater and made it but the question is... why? So, I was
ordering materials for the new engine baffling
and thought; "Why don't you just buy the stuff for a heater while you're at
it. Besides, my wife was wondering what to get me for Christmas and what
better present than a nice warm cockpit?
Heat Muff
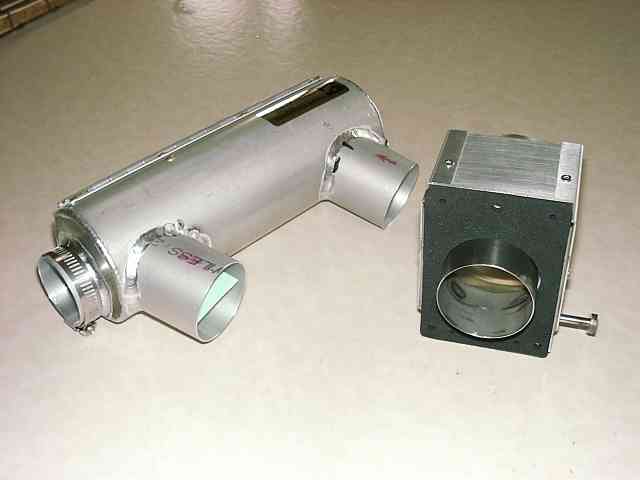 Both my exhaust pipes are long and straight enough to accept one of those
"clam shell" heat muffs. It simply clamps around one of the
pipes and has a 2" inlet and outlet. Air comes in from a vent in the
back of the cylinder baffle and out to the heat box... collecting hot air along
the way.
Both my exhaust pipes are long and straight enough to accept one of those
"clam shell" heat muffs. It simply clamps around one of the
pipes and has a 2" inlet and outlet. Air comes in from a vent in the
back of the cylinder baffle and out to the heat box... collecting hot air along
the way.
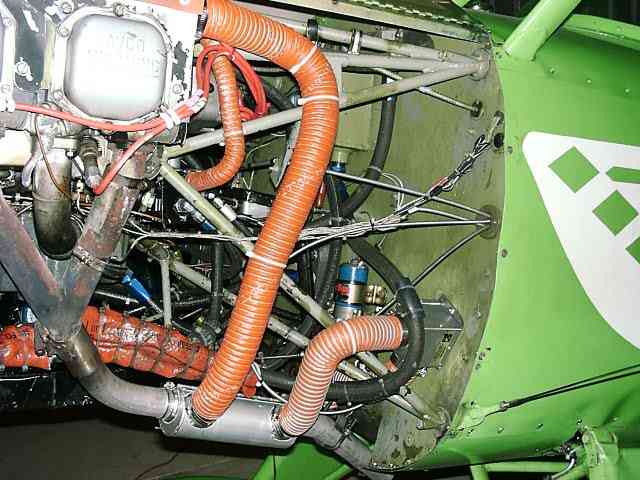
Heat Box
The heat box has one 2" inlet and two 2" outlets and a lever to
control which outlet the heat goes through. One outlet is simply routed
out the bottom of the plane and the other is passed through the firewall.
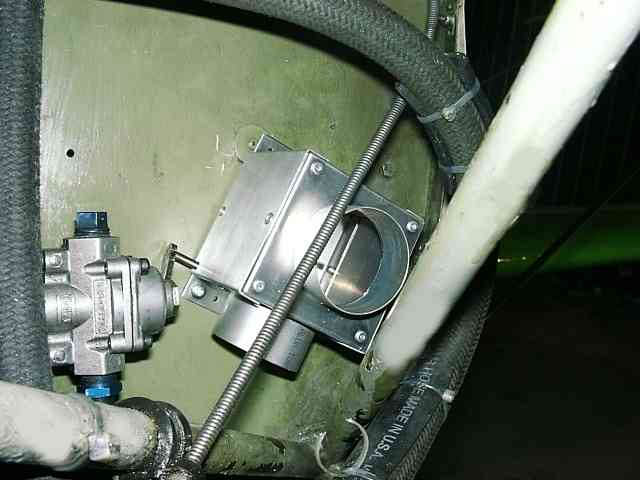 Installing
the Heat Box
Installing
the Heat Box
Ok, this should be easy... Right. Pulled the cowl off and found
the perfect location for the heater. Unfortunately, someone had the nerve
to put part of the frame right behind where I wanted to put the heat box.
A little lower and nothing would fit, a little higher and it would interfere
with the rudder pedal. Humm... Ok, move it down and to the outside a bit,
cock it sideways, and it looks like the "perfect" location to me.
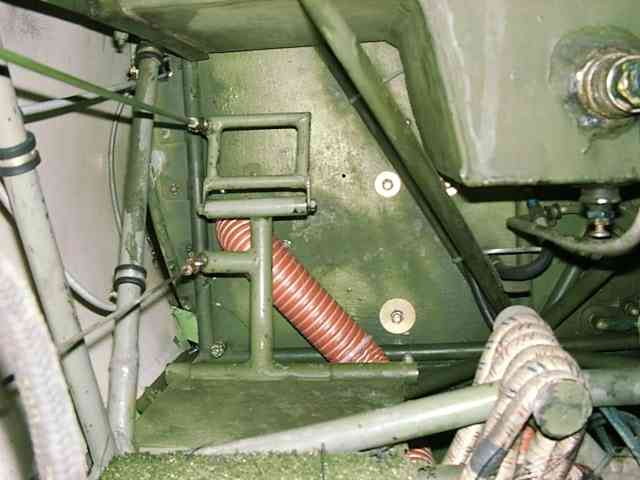
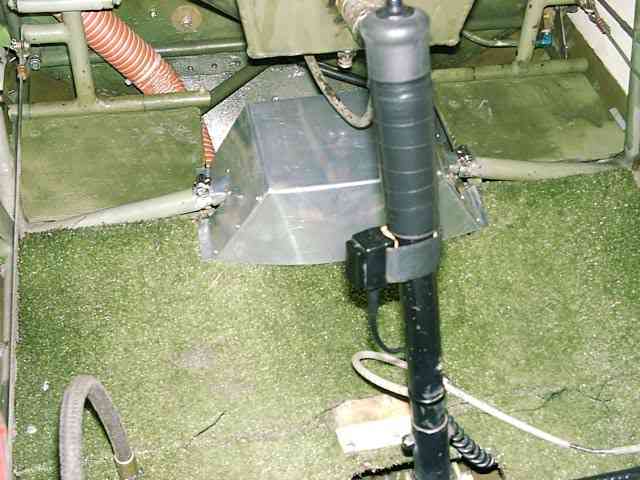
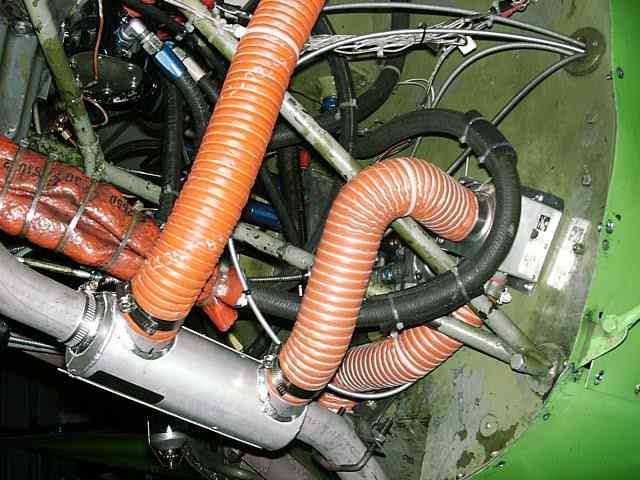
Routing
the SCAT Ducting
I routed the SCAT ducting under the floorboard so it showed as little as
possible and would come up under the front seat and fill the cabin with warm,
warm air... Ok, well anyway I was hoping that it swirl around and warm me up
before it all rushed out the pilot's opening. As you can see it just fit
with full left rudder and the toe brake fully down.
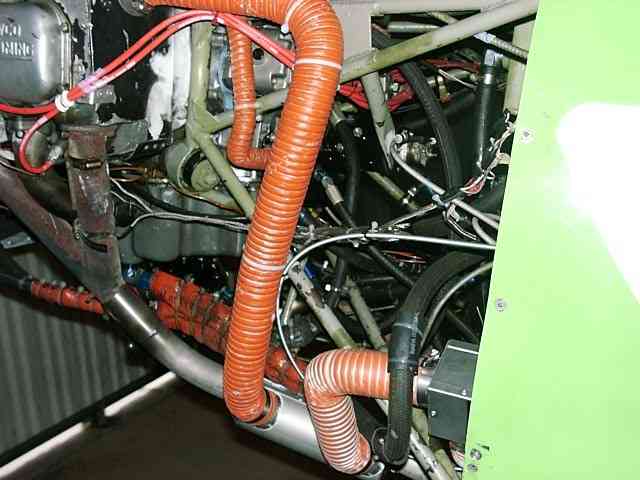
Installing the Heat Muff
Now, we know where the heat box will go and its nice and close to the exhaust
pipe. So I put the heat muff over the exhaust pipe and no dice... pipe was
too big. Ok, it fits on the right pipe 1.75" diameter but not the
left, which is the one I want. So I had LeForge Pipe and Fabrication in
Ypsilanti make another
pipe. I'm not sure why it wasn't the same anyway... besides the new one
will have smooth bends and not be all lumpy... lumpy can't be good.
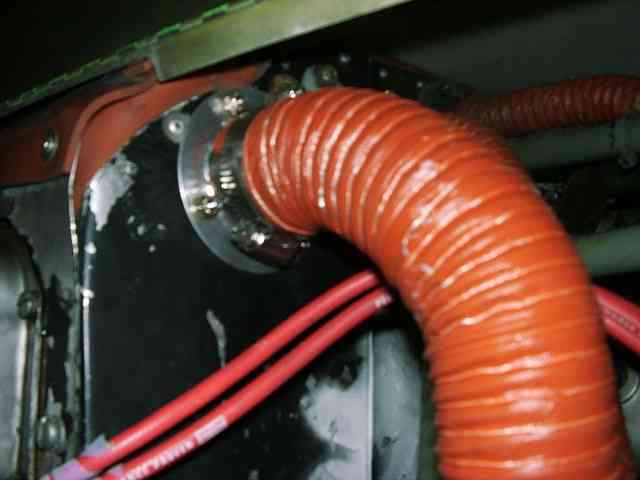
Connecting Heat Muff to the Baffling
I connected the input port of the Heat Muff to the baffle with SCAT
ducting. A 2" hole and 2" aluminum flange did the trick... After
moving the spark plug wires of course. I think the previous owner
must have changed his mind a couple of times because there were a couple of
extra holes. No matter, I'm going to replace the baffling next so it
doesn't have to look perfect. I did have to take off the top cowling to
get to everything, but the top comes off in a snap.
Installing Control Cable
Ok, this should be easy enough. First question: Should it push or pull
the heat on...
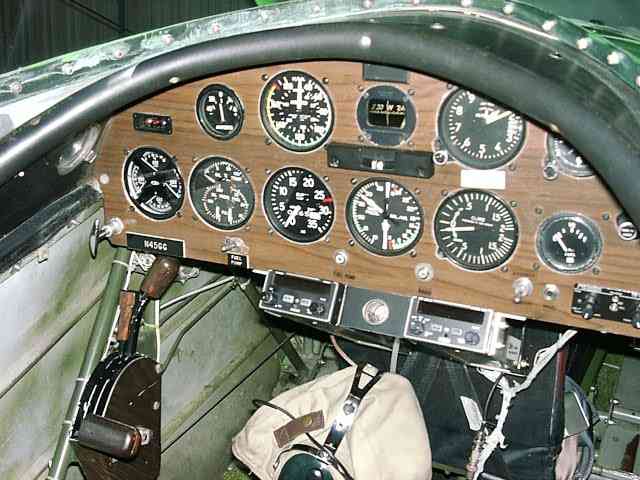 Ok, pull it is. Now, where to mount the control handle... somewhere out
of the way yet accessible. Well, I bought a dash mount control... how
about on the instrument panel? Sometimes I amaze even myself. One little hole in
the bottom left corner of the instrument panel and that's it.
Ok, pull it is. Now, where to mount the control handle... somewhere out
of the way yet accessible. Well, I bought a dash mount control... how
about on the instrument panel? Sometimes I amaze even myself. One little hole in
the bottom left corner of the instrument panel and that's it.
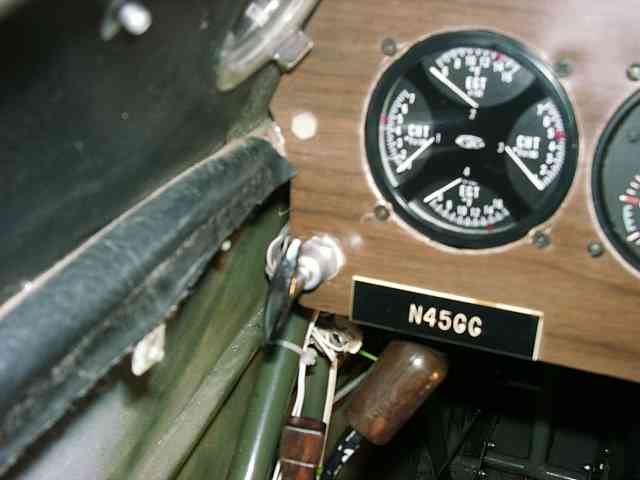 The cable
runs behind the frame tubing between the frame and skin (see thumbnails below). A few cable ties
to hold it steady and we're ready to connect.
The cable
runs behind the frame tubing between the frame and skin (see thumbnails below). A few cable ties
to hold it steady and we're ready to connect.  I'll have to wait because I
forgot to order the control end "B" nut to connect the wire to the
lever.
I'll have to wait because I
forgot to order the control end "B" nut to connect the wire to the
lever.